Last updated October 9, 2026
Room Addition Contractor Troubleshooting: Common Problems and How to Fix Them
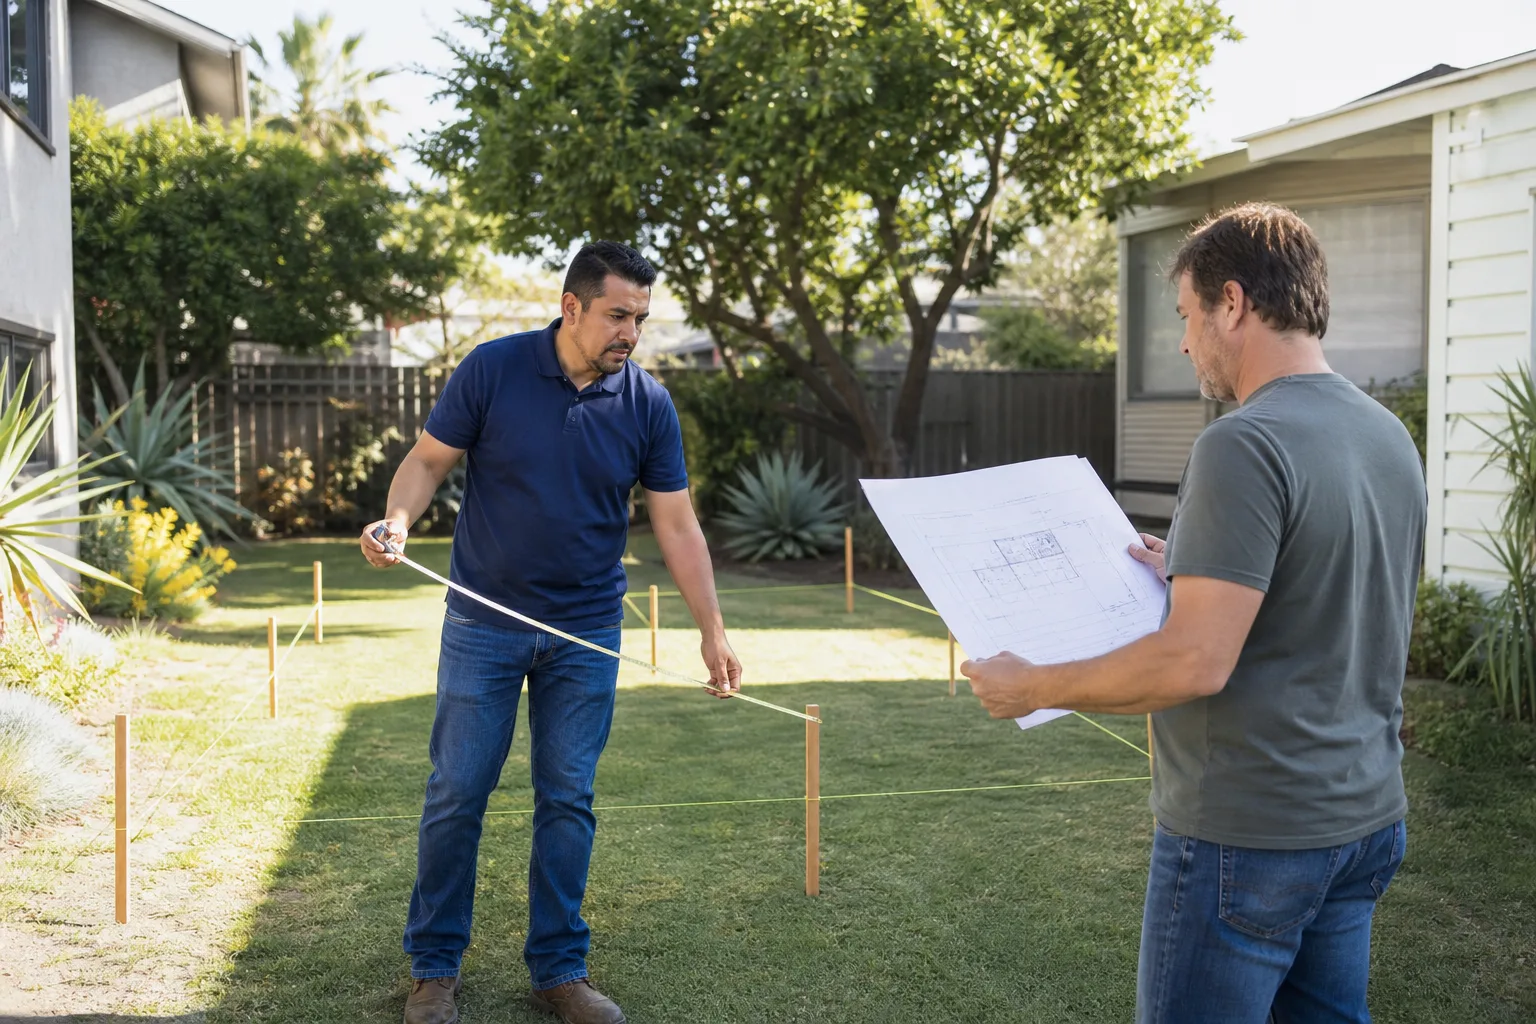
A hairline crack in a new room addition’s drywall is almost never the problem. It’s the receipt for a problem that was created three phases earlier, usually in the foundation pour or the framing inspection. In Los Angeles, where we build on everything from hillside caissons to flat slab foundations to hundred-year-old raised floors, the most expensive room addition defects are the ones that were visible for about forty-eight hours before they got buried under concrete, drywall, tile, or stucco. Homeowners just didn’t know what they were looking at. This guide-along with our Room Addition Contractor Warning Signs Every Homeowner Should Know-changes that. You’ll learn to read a job site at each stage of construction, spot the mistakes that become lawsuits and callbacks, and know what to demand from your contractor before the evidence disappears. By the end, you’ll know more about catching bad work than most project managers did their first year in the trade.
Quick Answer
Most room addition problems after construction trace back to four root causes: a foundation prepared or poured incorrectly, framing that settled or transferred load where it shouldn’t, flashing and waterproofing details that were skipped at the old-house-to-addition seam, or mechanical rough-in work that was never inspected before drywall went up. The fix almost always starts with documentation: written notice to the contractor, a second-opinion structural assessment, and a written, line-item correction plan. In Los Angeles, where seismic codes and expansive soils combine to punish shortcuts, catching these problems during construction is dramatically cheaper than fixing them after final inspection. A qualified Room Addition Contractor will welcome your attention at each stage rather than rush to close the walls.
Table of Contents
- The Stage-by-Stage Inspection Checklist: What to Look At Before It Gets Covered
- Hairline vs. Structural Cracks: How to Read the Difference
- Water Intrusion at the Old-House-to-Addition Seam: Three Flashing Failures
- When the Contractor’s Work Fails After Final Inspection: Your Rights in California
- Getting a Second-Opinion Structural Assessment Without Voiding Your Warranty
- Troubleshooting Prefab and Modular Additions: Cover, Dvele, and Boxabl-Specific Issues
- DIY Checks You Can Do Before Calling Anyone
The Stage-by-Stage Inspection Checklist: What to Look At Before It Gets Covered

Every room addition in Los Angeles passes through the same four stages of concealment: foundation, rough framing, rough MEP, and drywall. At each stage, a window opens where problems are visible and fixable. Then the window closes. Here’s what to look at while you still can.
Stage 1: Foundation (Before the Concrete Pour)
In Los Angeles, the foundation is where a room addition either earns its next fifty years or sets up its first callback. Before any concrete shows up, walk the forms and check these items:
- Reinforcing steel. The rebar should be off the ground, held in place by chairs or dobies, typically 3 inches clear of the soil. If the steel is resting directly on dirt, you will get spalling, rust jacking, and eventual structural compromise. Take a photo.
- Anchor bolts. If your addition will be wood-framed, anchor bolts must be set into the concrete while it is wet, spaced per the approved plan. Los Angeles seismic requirements are strict here. If the bolts are missing or spaced too far apart before the pour, you cannot add them after the concrete cures.
- Footing depth. In many parts of the city, footings must reach below the expansion zone and be inspected before the pour. If the trench looks shallow for your neighborhood’s soil type, ask to see the city inspection sign-off before concrete is ordered.
- The pour itself. Concrete should not be watered down to make it flow easier. The mix design was chosen for a reason. If the crew is adding gallons of water to make it pump easier, that weakens the finished product.
Stage 2: Rough Framing (Before Sheathing and Drywall)
Framing is the skeleton. If it is wrong, everything hung on it will show the mistake eventually. Check:
- Header sizing over all new openings. A 4-foot window needs a real engineered header, not two stacked 2x4s. In Los Angeles, building inspectors see this error weekly. Do not let the crew bury an undersized header behind drywall.
- Hold-downs and straps. Your approved plans likely call for metal connectors at specific points: hold-downs at shear wall ends, straps at stud-to-plate connections, clips at rafter-to-plate. If you do not see them, ask why.
- Stud spacing and doubling. Where two walls meet a corner, or where a point load lands, the plan likely calls for doubled or tripled studs. If the crew framed a single stud where the plan shows three, get it corrected before the inspector catches it and tags the job red.
- Roof-to-wall connections. Los Angeles sees Santa Ana winds and seismic events. Rafter ties, hurricane clips, and blocking should all be present per plan. Missing connectors here is a classic sign of a crew rushing to get to the next check.
Stage 3: Rough MEP (Before Insulation and Drywall)
This is the phase where plumbing, electrical, and HVAC all go in before the walls close. Very few homeowners walk the job at this stage, and that is exactly why so many defects survive into the finished addition:
- PEX and copper runs are not notched into the middle of studs without nail plates. Any pipe passing through a stud should have a steel nail plate on the outside edge so a future drywall screw or picture hook cannot puncture it. If plates are missing, take a photo and ask for them before drywall.
- Drain lines have slope. A horizontal drain that runs flat or slightly uphill will clog constantly. Look for a visible fall along the entire run.
- Electrical boxes are at finished-wall depth. Boxes should protrude 1/2 inch from the stud face to sit flush with 1/2-inch drywall. Boxes set back 3/4 inch mean the drywaller will bury your receptacles and switches.
- Duct boots are sealed and supported. An HVAC register that hangs loose in a wall or floor cavity will leak conditioned air into places you cannot reach after drywall.
Stage 4: Drywall (Before Tape and Mud)
Once drywall is hung but before tape and mud, inspect the screw pattern and panel fit. Truss uplift (where the roof truss raises slightly off an interior wall in winter) is documented in some climate zones, but in Los Angeles, the more common problem is screws installed too deep, popping later, or joints left unsupported. If you see butt joints landing in the middle of a doorway with no backing stud, that seam will crack every single time, and no amount of mud will stop it.
In our experience on Los Angeles room additions, ninety percent of what later shows up as a crack, a leak, or a sagging corner can be traced to a skipped detail from one of these four checklists. The window for fixing it was open. Nobody was looking.
Hairline vs. Structural Cracks: How to Read the Difference
Not every crack in a new room addition means your contractor failed. Some cracking is normal, predictable, and cosmetic. The skill is knowing which is which before you spend money on a structural engineer or file a notice with the contractor.
The Four Questions That Tell You What a Crack Is
- How wide is it? A hairline crack of 1/16 inch or less is almost always surface-level: drywall tape failing, paint shrinkage, or mud that dried too fast. Cracks between 1/16 and 1/8 inch deserve monitoring. Cracks over 1/8 inch, especially if they are growing, are structural until proven otherwise.
- What direction does it run? Vertical cracks at a drywall seam are usually just the seam moving with normal seasonal expansion. Diagonal cracks, especially near corners of doors or windows, indicate shear or settlement movement. Horizontal cracks along an exterior wall are the most concerning: they can signal lateral pressure from soil or a foundation shifting.
- Where is it? A crack at the addition-to-house junction is often the normal differential movement between an old foundation and a new one, especially in Los Angeles where the original house may sit on a 1920s raised floor and the addition sits on a new slab. A crack running through the middle of a wall or across a ceiling is a stronger signal of structural movement.
- Is it repeating? If the same crack reappears six months after you patch it, it is structural movement, not cosmetic settling. Document it with photos and measurements, then get an engineer involved before the contractor’s one-year workmanship period expires.
Normal Settlement Cracks in Los Angeles
In our work across Los Angeles, from Baldwin Park to Culver City, a new addition’s slab will often develop hairline cracking within the first 18 months. If the slab was poured correctly, with control joints cut within 24 hours, those cracks stay in the joints and never telegraph up through the floor tile. Normal settlement includes minor drywall seam cracks, hairline shrinkage cracks in concrete corners, and small movements where the new addition meets the old house. These are cosmetic, not structural.
Structural Movement Cracks: When to Act
If you see a diagonal crack wider than 1/8 inch at the corner of a new window or door, a horizontal crack along a stem wall or retaining wall, or a crack that opens and closes seasonally, you need a structural engineer. In Los Angeles, we build on soils that expand and contract with moisture. A foundation poured without accounting for that movement will show it through the walls within two years. The repair is not drywall tape; it is underpinning, piering, or slab jacking, and it is not optional.
Water Intrusion at the Old-House-to-Addition Seam: Three Flashing Failures
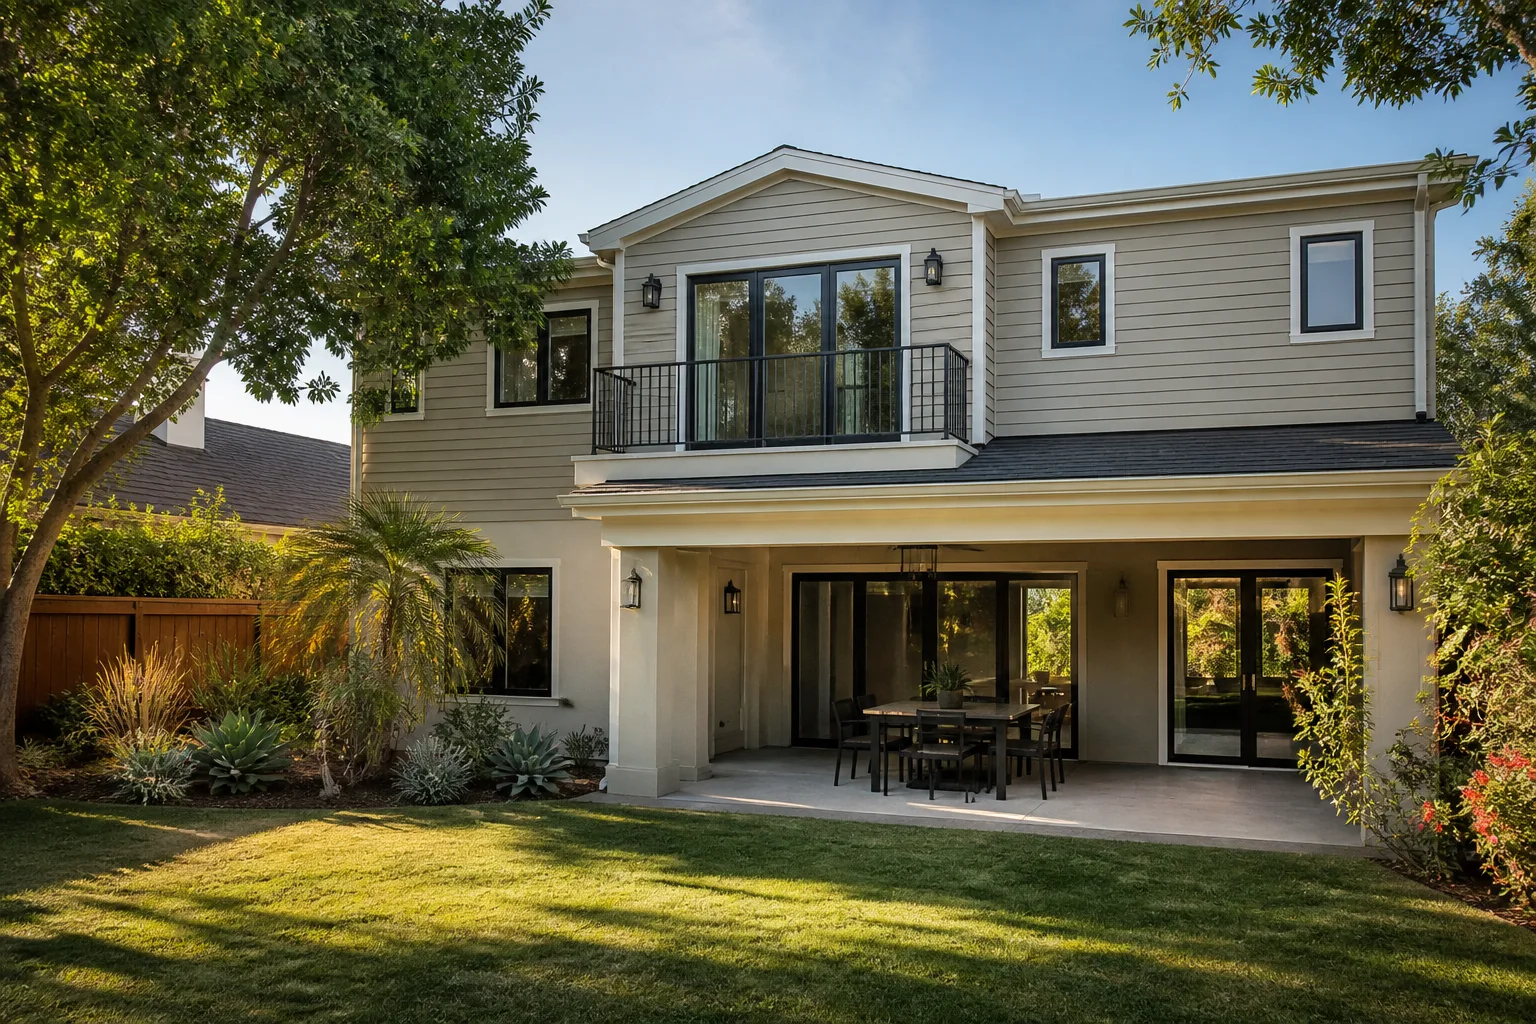
The seam where a new room addition meets an existing house is the single most common leak point in Los Angeles residential construction. One in every five water damage claims we’ve seen on additions traces back to this junction. The three most common flashing failures are different enough in cause and cure that you need to know which one you have before calling anyone.
Failure 1: The Missing or Undersized Counterflashing
Where the new addition’s roof meets the exterior wall of the old house, the roof slope delivers water straight into the junction. Correct practice is two pieces: step flashing (metal pieces woven into the roof shingles as they climb the wall) and counterflashing (a separate metal piece mounted into the wall above the step flashing, overlapping it). When a contractor installs only step flashing, or uses home-store thin flashing instead of 24-gauge or heavier, water rides up behind the wall surface during wind-driven rain. In Los Angeles, where we get sideways rain off the Pacific, this is not a theoretical failure.
How to diagnose it: Water stains on the interior ceiling or wall at the low side of the roof-to-house junction, especially after heavy rain with wind. If the leak happens only when wind drives rain against that wall, suspect missing or inadequate counterflashing.
The fix: Remove the siding or stucco at the junction, install proper step and counterflashing, reseal the wall. This is a one-day repair but requires opening finished surfaces. It should have been correct before siding went on.
Failure 2: The Buried Flashing Line
When stucco crews finish an exterior wall, they must keep the weep screed (the metal flashing at the bottom of the stucco system) exposed and above grade so water that gets behind the stucco can drain out. If the addition’s finished grade covers the weep screed, water sits against the sheathing and framing. The same failure happens when the addition’s new stucco is applied over the old house’s wooden siding without flashing where the two meet.
How to diagnose it: Dirt, bark, or concrete covering the metal weep screed at the base of the stucco wall. Or siding rot at the old-house-to-new-addition exterior corner. Moisture meter readings through the interior drywall will show elevated moisture in the wall cavity after rain.
The fix: Regrade so the weep screed sits at least 4 inches above soil, install flashing where the two wall systems meet, and repair any rotted sheathing or insulation. This failure is visible from the outside if you know what a weep screed looks like before the job starts.
Failure 3: The Unflashed Deck-to-Addition Connection
When a room addition opens onto a new deck or patio, the ledger board (the horizontal board bolted to the house) must be flashed on top, behind, and below. Missing flashing here sends water into the wall and, eventually, into the rim joist. This is the classic setup for dry rot in Los Angeles additions, where we build a lot of indoor-outdoor living spaces.
How to diagnose it: Rot or staining at the bottom edge of the door threshold opening onto the deck, or soft wood when probed along the ledger-to-wall junction.
The fix: The ledger must be removed, flashing installed, and the damaged rim joist replaced. This is structural work, not caulking.
If you’re reading this before your addition starts, ask your contractor to show you the flashing details on the plan set. If there is no flashing detail drawing, that is a red flag, not a paperwork quirk. A Room Addition Contractor in Los Angeles who builds by the book will have these details drawn, approved, and ready to point to during the build.
When the Contractor’s Work Fails After Final Inspection: Your Rights in California
Final inspection passed. The furniture moved in. And then a window corner cracks, a roof seam leaks, or a floor tile pops. This is the worst moment to be a homeowner, and the best moment to be methodical. California gives you specific legal tools. Here is the exact written notice process under state law.
The California Written Notice Process, Step by Step
- Document the defect. Photos, measurements, dates, and a written description of what is wrong and when you first noticed it. Video helps. Include a ruler or reference object in every photo so scale is unambiguous.
- Write the notice. California law provides the Right to Repair Act (Civil Code sections 895-945.5). For defects covered under this act, the homeowner must provide written notice before filing a lawsuit. The notice should be mailed certified, return receipt requested, to the contractor’s business address on the contract. Include the defect description, photo references, and a specific request for inspection and correction within a reasonable time.
- Keep a copy and a record of delivery. The return receipt is your proof the contractor received the notice. If the contractor does not respond within 30 days, or responds with a refusal or an unreasonable correction plan, you may have grounds to proceed to a legal or insurance claim.
- Do not repair first. California’s Right to Repair Act expects the contractor to have an opportunity to inspect and offer to correct the defect. If you hire someone else to fix it before giving the original contractor written notice, you may forfeit some claims. There are exceptions for emergencies (a leak actively flooding a bedroom does not wait 30 days), but for non-emergency defects, follow the notice process.
What the One-Year Workmanship Period Actually Covers
In California, a contractor’s one-year workmanship obligation means the completed work must remain free from defects in materials and workmanship for a full year after completion. That covers most everything except normal wear and tear: doors that bind, cabinets that delaminate, tile that cracks due to poor substrate prep, drywall seams that fail, paint that peels from improper prep. It does not cover defects caused by the homeowner, normal settlement, or acts of nature. The key point: the clock starts at substantial completion, not at final inspection sign-off. If your contractor’s project manager signed off on the punch list and handed you the keys on March 1, that is Day One. A defect discovered on February 28 of the following year is a March 1 notice.
The Garrison Standard, which Fielding ADU Builders operates under, spells this out in writing on every single project: 365 days of written guarantee covering workmanship defects. If something fails inside that year, we return at no charge and correct the defect. Most contractors never put the terms in writing. Our position is that a guarantee that is not on paper is not a guarantee; it is a hope. If you are reading this because a contractor is refusing to honor an unwritten promise, know that in California, oral promises are notoriously difficult to enforce. Get everything in writing from Day One, including the correction terms for the one-year period.
Getting a Second-Opinion Structural Assessment Without Voiding Your Warranty

When a room addition shows signs of structural movement, the homeowner faces a real tension: you want an independent engineer to assess the work, but you do not want to do anything that lets the original contractor off the hook. The good news is that a second opinion, if handled correctly, does not void anything. Here is how to do it without blowing up your warranty position.
Why a Second Opinion Does Not Void the Warranty
Hiring an independent structural engineer to inspect and report does not alter, modify, or repair the work. It is an inspection, not a repair. Your contractor’s one-year workmanship obligation survives inspections. What voids warranty rights is an unauthorized repair by a third party before the original contractor gets written notice and a chance to correct the defect, as described in the previous section. An engineer’s written report is not a repair; it is evidence. It strengthens your position.
The Right Sequence
- Hire the structural engineer first. A California-licensed structural engineer will charge $700 to $1,800 for a single-site inspection and written report on a room addition, depending on the structure’s size and complexity. The report should identify the cause, severity, and recommended correction for the specific defect you reported.
- Send the contractor written notice of the defect, with the engineer’s report attached. This puts the contractor on written, legal notice and hands them the evidence to act on. If they are a responsible contractor, they will correct the work based on the report. If they are not, the report is Exhibit A in the subsequent claim process.
- If the contractor refuses to correct, you now have two written documents: the engineer’s report and your certified-mail notice with return receipt. You can now hire a licensed contractor to correct the defect and pursue recovery through the appropriate legal or insurance process, with the engineer’s report documenting what was wrong.
In our experience with Los Angeles room additions, a homeowner who walks in with an engineer’s report gets a completely different response from the contractor than one who walks in with a complaint. The report moves the conversation from opinion to fact. If a contractor’s work is sound, the engineer will say so, and everyone can move on. If the work is not sound, the contractor has a written, professional description of the problem and a defensible reason to make it right.
If your original contractor is out of business or unreachable, the engineer’s report is how you get a repair estimate from a new contractor and pursue recovery through the contractor’s bond or your homeowner’s insurance. In California, a licensed contractor is required to maintain a contractor’s bond. File a claim against the bond with the engineer’s report attached, and you have a much stronger case than a homeowner who calls with a verbal description of a crack.
Troubleshooting Prefab and Modular Additions: Cover, Dvele, and Boxabl-Specific Issues
Los Angeles has become one of the strongest markets in the country for prefab and modular ADUs and room additions. The cost certainty and shorter build windows are real advantages, and we work with several of these platforms, including ADU Builders in Los Angeles who understand the prefab delivery model. But prefab is not problem-free. Knowing the failure modes specific to each platform saves you months of finger-pointing between the factory, the installer, and the site contractor.
Cover and Dvele: Panelized Systems, Site-Level Tolerances
Cover and Dvele both manufacture panelized systems where wall, floor, and roof panels are fabricated in a factory and assembled on a site-built foundation in days. The most common problems we see are not factory defects. They are site-level tolerance problems: a foundation poured 1/2 inch out of level, or a corner out of square by 5/8 inch, and the panels will not meet cleanly. The result is gaps at panel joints that leak, squeaking floors, and doors that will not hang correctly even after the installer adjusts them. Panelized systems are not forgiving. The factory can build to 1/16-inch tolerance, but the site concrete crew is working to 1/4-inch tolerance at best. That mismatch is the number one source of prefab room addition callbacks: not the panels, but the concrete they sit on.
The fix: If you are building with Cover, Dvele, or a similar panelized system, verify that your site contractor benchmarks the foundation to the factory’s specified tolerance before the pour. After the pour, check level and square with a laser or string line before the panels arrive. Catching a 1/2-inch foundation error at Day 7 costs a few hundred dollars and one day. Catching it after the panels are set costs thousands and two weeks.
Boxabl and Volumetric Modules: Craning, Connections, and Hidden Seams
Boxabl delivers volumetric modules: complete boxes that arrive on a truck and get craned onto a prepared foundation. The failure modes are different. Connection details where modules join each other and where modules meet the foundation are the critical points. If the module-to-module seam is not properly flashed and weatherproofed, you get leaking at the seam, and the leak is invisible from inside because the seam is deep inside the wall cavity. Foundation settlement unevenly under two modules causes cracking at the seam even when each module individually is sound. And crane-set modules built tight to the property line in Los Angeles can be difficult to re-flash after installation: there may not be enough room to get a ladder on the uphill side.
The fix: Confirm that the installer provides written documentation of the seam flashing details, and require a blower door test or third-party water-tightness test at the module joints before interior finish. If your site contractor is new to Boxabl, that is a risk factor, not a badge of innovation. Ask how many volumetric module installations they have completed in Los Angeles and ask for a reference from one of those jobs.
The unifying principle with prefab systems is this: the factory controls the product, but the site controls the foundation, the connections, and the weatherproofing. Most failures live on the site side of that line. Whichever platform you choose, hold the site contractor to the same written-price, inspected-work standard you would hold any Garage Conversion Contractor in Los Angeles to.
DIY Checks You Can Do Before Calling Anyone
Before you call a structural engineer, a contractor, or your attorney, there are a handful of checks you can do yourself, in a single afternoon, that will tell you whether you have a cosmetic issue or a structural one. These checks require no special tools beyond a level, a flashlight, and a tape measure. They will not replace a professional assessment, but they will tell you whether to schedule one.
Check 1: The Door and Window Test
Open and close every door and window in the addition. A door that binds at the top corner on the latch side indicates a header sagging or a floor settling unevenly. If the binding appeared within the first year after construction and was not there at final walkthrough, it’s a movement signal. If the door racked out of square within a year, measure the opening diagonals: top-left to bottom-right, and top-right to bottom-left. A difference over 1/4 inch is significant.
Check 2: The Level Test at the Floor
Place a 4-foot level across the floor at several points, in two directions. A slab floor that slopes more than 1/8 inch per foot in a new addition indicates either poor screeding during the pour or settlement since the pour. If the slope is consistent and even, it may be cosmetic. If it runs toward one corner, it suggests uneven settlement or a foundation not bearing evenly.
Check 3: The Crack Map Test
Mark every visible crack with painter’s tape and write the date on the tape. Measure the width of each crack with a ruler and write that on the tape too. Come back in 60 to 90 days. If the cracks have widened by more than 1/16 inch, the movement is active, and you need an engineer. If they are unchanged, they are likely stable, and a drywall repair will hold.
Check 4: The Moisture Meter Test
Rent or borrow a moisture meter (a pinless model works fine). Run it over the baseboards, the ceiling near the old-house-to-addition seam, and any interior walls that face exterior weather. A reading over 16 to 20 percent in drywall or wood indicates elevated moisture. In Los Angeles, where the default is a fairly dry climate for eight months of the year, a wet wall cavity does not dry out on its own. It needs to be opened up.
These four checks will tell you, with reasonable confidence, whether you are dealing with a finish issue or a structural one. They will not tell you the cause or the cure. For that, bring in the professional, and bring in the written notice process described above. You can also explore more guides & resources on protecting your investment.
Common Mistakes to Avoid
- Waiting until the one-year workmanship period is almost over before reporting a defect. The longer you wait, the more the contractor can argue the problem is normal settlement, wear and tear, or something you caused. Report defects in writing the week you notice them.
- Repairing a defect yourself before giving the original contractor written notice. In California, this can void your recovery rights. The only exception is an active emergency, like a flooding leak. For everything else, write the notice first.
- Accepting an oral promise to fix something “when we’re back on another job in your area.” If it is not in writing, it did not happen. In Los Angeles, a contractor’s schedule is a rumor, not a contract. Get every correction commitment in writing with a date.
- Hiring the cheapest bid and then being surprised when the cheap contractor skips flashing details that were never in the written scope. A room addition is a six-figure construction project in Los Angeles. The gap between a mid and bottom-tier bid does not cover the cost of correcting a skipped foundation detail.
- Not walking the site at rough framing and rough MEP stages. The two-week window when studs, pipes, and wires are exposed is your only opportunity to see every skipped detail before it gets buried. Homeowners who walk the site at these stages catch problems that never become lawsuits.
- Ignoring a hairline crack because “all new homes crack.” Some do. Some do not. The four-question crack test in the section above takes five minutes and tells you which situation you are in. A hairline crack that is active and growing is a message, not a decoration.
- Failing to confirm that your contractor has written correction terms in the contract before work starts. If the contract does not state what happens when work fails within the first year, you are betting the entire job on the contractor’s goodwill. In Los Angeles, goodwill is a weak foundation for a room addition.
When to Call a Professional
Call a structural engineer when you see active crack growth over 1/8 inch, a door or window that has racked out of square within the first year, or a floor sloping visibly toward one corner. Call a licensed contractor when you have water intrusion at the old-house-to-addition seam, missing flashing details on the exterior, or a prefab module joint that is failing. Call your attorney when the original contractor has ignored a written notice for 30 days or more. Through Fielding ADU Builders home, we offer free estimates on room addition corrections and rebuilds throughout Los Angeles. That includes a written, line-item assessment of what went wrong, what it will take to correct it, and a written one-year guarantee on the correction work. Call (361) 315-4177 to schedule a visit.
Frequently Asked Questions
Most structural corrections on a failed room addition run between $12,000 and $45,000 in Los Angeles, depending on whether the problem is isolated (a single footing, one shear wall) or widespread (full foundation underpinning). Cosmetic drywall crack repair typically runs $400 to $1,800. The price gap between the two is the argument for catching problems during construction. Call (361) 315-4177 for a written, line-item assessment of your specific situation.
Water intrusion at the seam where the new addition meets the old house, caused by missing or undersized flashing, is the most common post-construction defect we see in Los Angeles additions. Foundation settlement and drywall cracking are close behind.
For workmanship defects covered by the one-year workmanship obligation, report within the one-year period that begins at substantial completion. For structural defects, California’s Right to Repair Act provides a separate, longer window: up to four years from substantial completion for certain latent defects, depending on the specific defect type. Document everything and send written notice as soon as the defect appears.
Only after you have given the original contractor written notice and a reasonable opportunity to inspect and offer correction, or in an active emergency like a flooding leak. Otherwise, you may forfeit your recovery rights under the Right to Repair Act.
Yes. Prefab failures tend to concentrate at site-level interfaces: foundation tolerance, module-to-module seams, and site-installed flashing. The factory-controlled components are typically consistent; the site work is where prefab room additions in Los Angeles develop problems.
It means the difference between a claim backed by a paper contract and a claim backed by a memory of a handshake. A written guarantee that states coverage term, defect definition, and correction process is enforceable. An oral promise is nearly worthless. That is why The Garrison Standard, used by Fielding ADU Builders on every Los Angeles project, is a written document, not a verbal assurance. If the work fails inside 365 days, we come back and make it right at no charge, and that commitment is on paper before the first permit is pulled.
The Bottom Line
Most room addition problems that surface after move-in were visible during construction. The crack in the drywall, the leak at the roof-wall seam, the door that binds in its frame: all of them had a moment, in the foundation forms or the open stud bays, when a homeowner walking the site with the right checklist could have caught them and demanded correction before the evidence got covered. If you are already past that moment, California law gives you written-notice rights and a one-year workmanship period. Use them. Document, notice, assess, correct. And if you are still in the planning phase, choose a builder who puts the correction terms in writing before work starts. A room addition is a fifty-year asset. Build it with a contractor who treats the paper as seriously as the concrete.
Written by Reed Calloway, Owner at Fielding ADU Builders, serving Los Angeles since 2006.